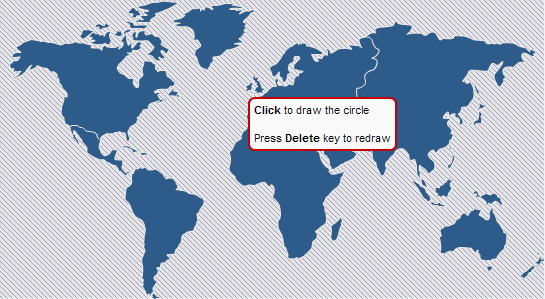
Draw circle on map to represent a highlighted area
You can add a circular custom region on the map. The Region dialog opens when you click  .
.

Displaying
Point, Lines and Custom Region List
| Actions |
Steps |
| To add a circular region |
- Click
 . .
- Go to the map.

Locating a place in the map to insert a circular region
- Click at the location where you want a circular region and draw the circle. A circle appears on the map, the Circle Region dialog opens, and an Item is added to the Region dialog.

Displaying a circular region on the map

Displaying an item added to Region dialog
- Change the properties of the circle by modifying the options in the Circle Region dialog. See the section To edit the circular region for details.
|
| To edit the circular region |
- Click
 for the circle you want to edit. The Circle Region dialog opens. for the circle you want to edit. The Circle Region dialog opens.

Displaying the Circle Region dialog
- You can:
- Change
the Name of the circular region.
- Change
the Normal Color. Click the color and select
a color from the Color Picker.
- Increase
or decrease the Normal Opacity.
- Change
the Highlight Color. This is the color that will
be displayed when you hover the mouse over the region. Click the
color and select a color from the Color Picker.
- Increase
or decrease the Highlight Opacity.
- Change
the Border Color. Click the color and select
a color from the Color Picker.
- Increase
or decrease the Border Opacity.
- Define
an action such as showing speech bubble, tooltip, or textbox while
hovering the mouse over the circle. After selecting the
Action, provide a Description.
- Choose
Show Info Box (with left image)/(with top image) if you
want to display image along with the text. Click Upload to upload
image.

Click Choose File to upload image in GIF/JPG/PNG format. Click
OK to proceed.

- Define
an action such as open a web page when the circle is clicked.
Select the Action, specify the URL
and the Target.
- Click OK to apply the settings.
|
| To delete a circular region |
- Click
 for the circular region you want to delete. The region will be deleted. for the circular region you want to delete. The region will be deleted.
|
![]() .
.


